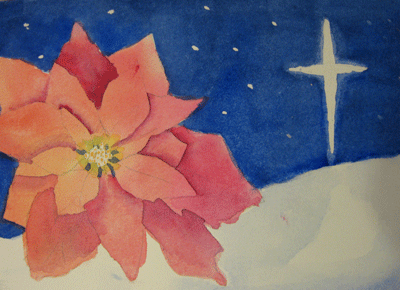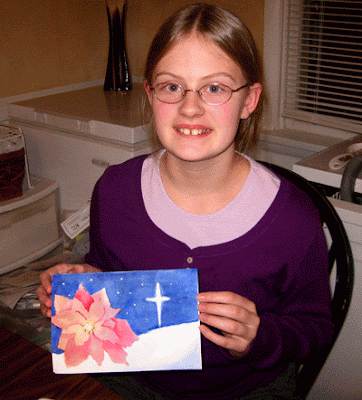

Emily wanted to do a poinsettia and had a general layout in mind: a poinsettia in the corner and a star over a snowy hill in the background. So we came up with this.
I think anyone would be happy to get this card!
Some of my painting friends have inspired me to set up a blog where people can view some paintings, give their comments, and see what I'm working on. It's still in the infant stage, so if you have some suggestions, things you'd like to see, or demo you'd like to have me do, let me know. Following the example of others, this comes with a disclaimer...these are copyrighted paintings, and are protected under copyright laws. They are for viewing/appreciating/critiquing...not for pirating.
I followed the recipe given by Sandy Maudlin to do bubble painting in my young student class. It was 2 oz acrylic paint, 3 oz dish soap, and 6 oz water. Mix thoroughly. I had thought you’d need a big bowl to blow bubbles, but we had to use smaller ones, like Cool Whip containers, and they worked fine. Blow bubbles through a straw, and when they get over the top of the container, gently lay the watercolor paper over them. Use several colors.
Here are two projects our class did with the bubble paints. First we did a painting of a bear in a bathtub and bubbled over it. In the other painting, we bubbled the paper first, then decided on a painting to put over it. This one was of a butterfly.
PS: I DID warn them not to suck in…but one of them did. YUCK.

Supplies needed are simple: a spray bottle, coffee filters, paper plates, magic markers, frames for “stained glass” objects (we used fish purchased from Dick Blick, but you can cut your own), and some iridescent medium for watercolor.
First put the coffee filter on the plate. Using regular magic markers, scribble patches of color, using several colors.
Put a little (about a tsp. ) of iridescent medium into about 4 oz. of water in a spray bottle. Saturate the coffee filter until the colors run together. (The iridescent medium will leave a sparkle when it dries.)
Dry completely. It only takes about a minute with a hairdryer.
Carefully pop the “stained glass” forms apart. Apply glue to the inside of one side. (These came from Dick Blick) Then gently lay the dried coffee filter on top of the glue.
Trim the excess filter away from the form.
Apply liquid glue to the inside over the filter. Make sure to apply glue to all the lines. Then carefully lay the second part of the stained glass pattern over the first.
Thread some fishing line through the hold in the top. Hang near a light for a fun sun catcher.


 Here is some student work for this beginner lesson on trees.
 Here is F.L.'s student work for today. First we learned about how to proportion a face, using a gridded paper as a guideline. Who knew there was so much math in art?


 mini paintings to remember your friends by.
 and Maryanne.

