THREE STEPS FOR FINISHING THIS PROJECT
The first is to SELECT A PATTERN with good negative shapes that will go with your design. Don't get too hung up on whether or not the white streaks match up with your design. DRAW THE DESIGN on tracing paper. This allows you to see the colors beneath the drawing and move the design around on the paper for the best composition. It allows you to see if you want to make changes in your design. Using tracing paper isn't necessary, but it is helpful.
When you are happy with your design DRAW or trace it with graphite paper onto the background. I often use a light box, but sometimes the background design keeps me from seeing it clearly. (You can barely see it on this picture below. I've changed my pattern to add pears instead of apples on the top of the basket, and I've removed small details from the reference.
STEP TWO: Paint in negative shapes. They don't have to be super dark right away, but dark enough to find your way through the picture. Painting in these negative shapes will help you "see" the picture better. In this student work she painted in the areas behind and between the grapes, and behind the right side of the basket. (I love those grapes...they look good enough to eat!)
STEP THREE: Painting the positive shapes. Now you can start to paint in the positives: giving the grapes color, along with the other fruits. I had a dark spot inside the pears that I lightened with water and a sponge before painting so that some of the yellow would show up.
Don't get rid of all your lovely whites!
(picture isn't finished, but shows negative shapes done, and most of the positive forms ...fruit, basket, etc.....begun.
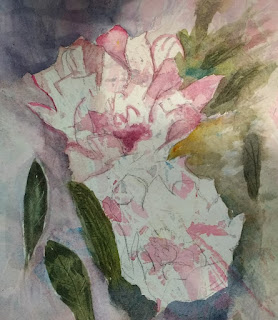
None of these are finished, but I'm so pleased with some of the student work, I wanted to show it.And I love the diversity of the subject matter.


No comments:
Post a Comment