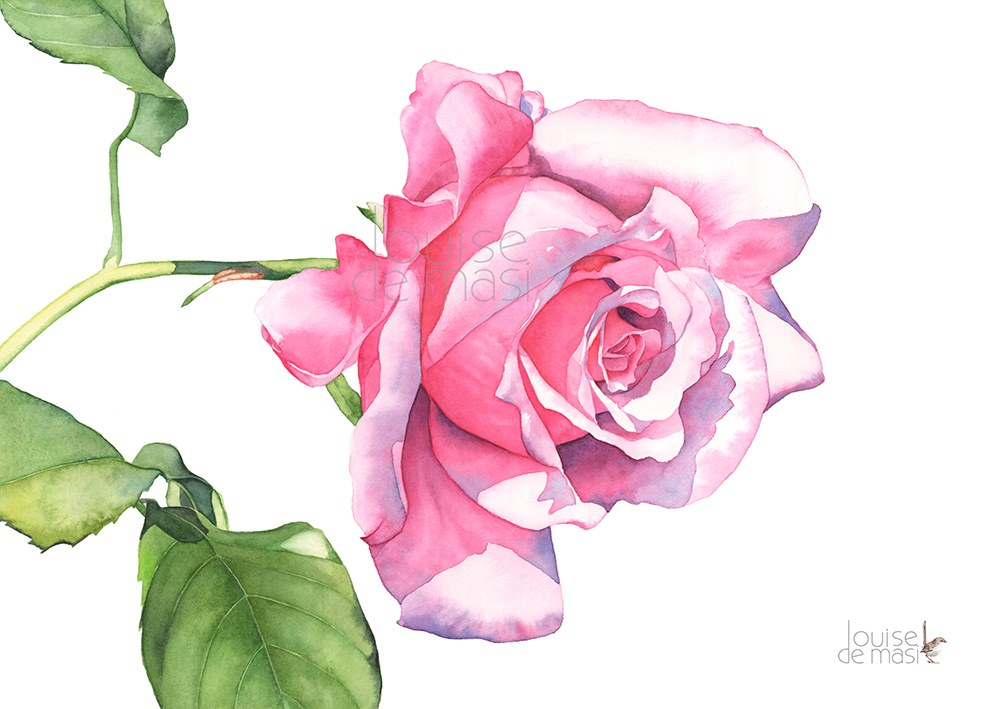
LOUISE DE MASI
Today we painted a goldfish, Louise style.
Louise is a delightful Australian with excellent teaching skills. She has tutorials on Skillshare, Youtube, and Patreon. Many of the youtube lessons are on Patreon, but the youtube one is usually condensed and does not include important features, such as: full scale drawing, reference material, and progress photos. There are also many tutorials on patreon that are not on other venues. (patreon is $6 a month)(My favorite thing she does is the progress photos, which most other artists do not provide)
Louise has an index of her lessons that indicate whether they are for beginners, intermediate, or experienced. They are divided up into florals,

birds,
and animals.
You will find that she often uses a limited palette of just 3 or 4 colors, especially her more recent ones. Each of her lessons stresses some technique: wet on wet, blending, color mixing, texture, lost edges, etc. I enjoy her painting style, which is realistic, but very clean and inviting. If you want to learn how to create using wet on wet, she's your gal.
Most of her tutorials are more than an hour; some more complex ones are broken into two parts. She keeps an easy pace. Her style is learning by doing...in other words, the intent is to emphasize a specific technique, but she does it by applying it to a specific subject, in this case, a fish.
She also discusses supplies that she discovers, brushes, paper, etc. I like that she also lets you know if you can show or sell the artwork you do from her tutorials, places to find good references, and so on.
Also, watch to the end for the out-takes.
https://www.youtube.com/watch?v=UAXHnemT0Og
I painted this goldfish, using her techniques for the most part. I changed to a reference photo that I found on Facebook's Reference Photos for Artists. I reversed the image to make it easier to follow. (It's very hard to paint an image facing the opposite direction.)
Reference photo in reverse
Reference in black and white
Sketch
The big eyed fish didn't appeal to me.
She used 3-4 basic colors: lemon yellow, warm red, French ultramarine and Burnt Sienna to make grays.
I later added some cerulean.
I began this the same as in the video: wet on wet in the body of the fish, leaving the tail and fins dry at first. IF YOU WANT TO DO THE black spots, make a thick black of burnt sienna and French Ultramarine (or cheat and just use paynes gray). When the paint on the body of the fish has lost its shine, drop in some dark spots. They should spread out a little and make soft edges.
As the paint loses its shine, you can drop in clean water to make some small backruns on the fish.
TAIL AND FINS
This part gives some practice with making a line on dry paper, then quickly softening one side of the line. This is tricky, because paint dries much fast when it's on dry paper.
Make a thin, watery gray from French Ultramarine and burnt sienna. Make a few lines on the fins, then soften one side. She shows this in the video. In addition, I used some soft light gray SHAPES where the fins appear to be shadowed. Don't try to do every spine on the fins. Let these dry.
I used cerulean to wash over some of these fins. I used bright orange (made from the red and yellow) in the areas indicated on the reference. I added some yellow to the dorsal fin. I also added some magenta to the side fin.
LOOK FOR OPPORTUNITIES to create lost edges. Lost edges are areas where the background and the object seem to disappear into each other.
LIFTING
Louise has an "eradicator brush" which she loves to lift fine lines. Lifting is using clean water on a stiffer brush to soften the paint. You'll see her do that in the video. Until someone sweet buys me one of those, I will continue to use my stiff cheap brushes and my monarch brushes. For fine lines, I tape of the area and lift.
I lifted between some of the fin spines, especially the top fin. I also used lifting on parts of the fins I wanted to have a softer edge. Softening the edge makes it recede into the background, and helps to lose that "outlined" effect.
THE EYE
For the eye area, carefully wet the area around the orange part of the eye, leaving the eye itself dry. All you are trying to do is make that orange part of the eye pop out. So keep the circle dry. Then put your red paint around the eye and help it disperse into the body of the fish.
Blacken the center of the eye. When dry, use a white pen for the thin line around the black.
FISH BODY
In my reference, the fish looks like it's got a bit of a belly. To make it seem more round, I added red orange behind that rounded area, and also darkened under the belly and side fin. If that area is already dark,
just lift the edge of the belly with water and a soft brush.
BACKGROUND
Louise's background is very simple, which I like. But I wanted a darker background. I just wet areas with a large brush, being careful around the fish, and dropped in ultramarine and cerulean blues, alternating to be sure the paint didn't look static and boring. As it lost its shine, I spattered water droplets to get backruns.
So, in short, this tutorial showed four important ideas to master:
1. wet into wet
2. creating purposeful backruns
3. wet onto dry, then softening one edge
4. lifting
5. Losing or softening edges
My version of the goldfish.


.jpg)


No comments:
Post a Comment