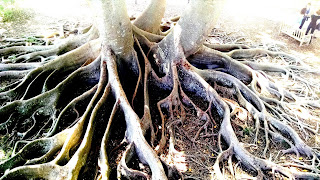
Sketch your picture onto the dried fluid acrylic pour. You may need colored saral (graphite paper) or colored watercolor pencil in order for it to show up. On the tree roots I used white; on the Buddha I used blue.

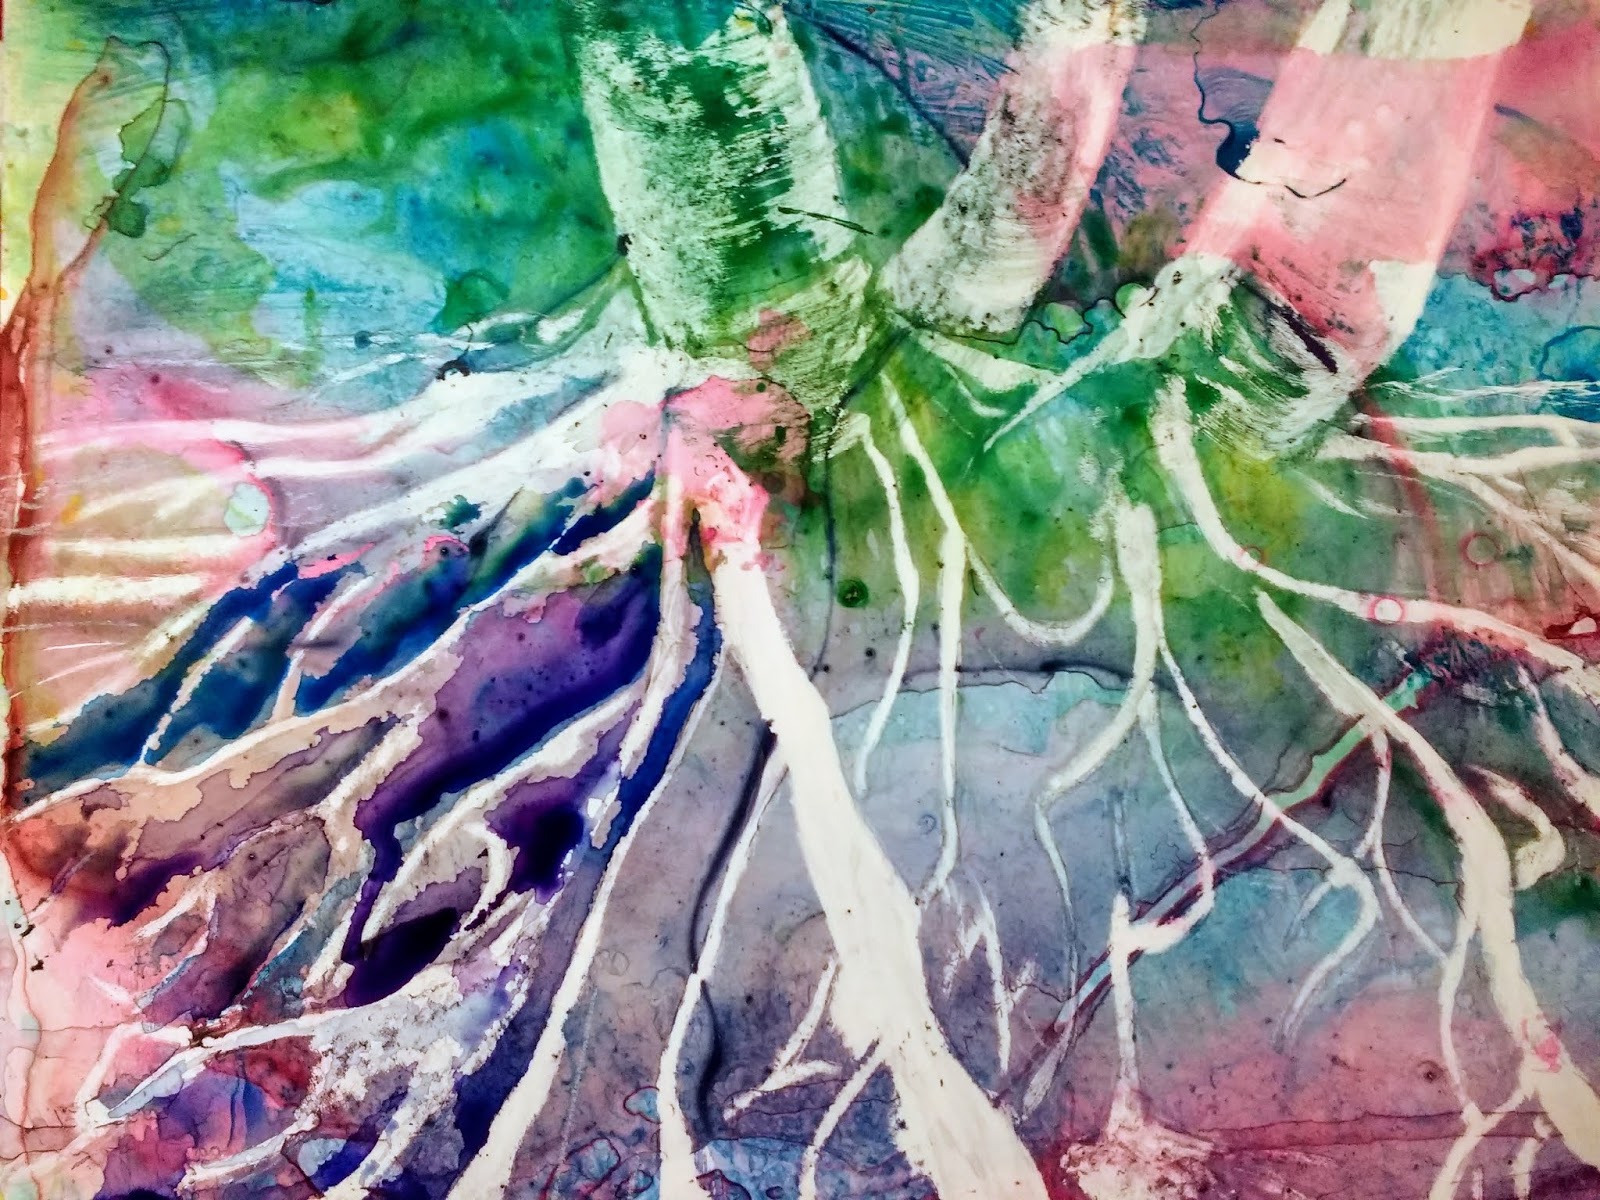
Now get ready to remove your whites and light values with alcohol. You can use several tools for removing the fluid acrylic: cotton swabs, stiff brushes, bamboo stick for thin lines, toothpick, etc. Here is the fig tree picture with whites and lights removed.

Begin to fill in the darkest darks with watercolor. The paper will be slick and resist, so you have to use more saturated paints. If you can't get the effect you want, you can use fluid acrylic or watercolor pencils. You just won't be able to remove the acrylic as easily if you don't like it. Here you can see that I've begun to darken the roots on the left.
When you have all the darks in, you can go back over some of the mid tones, change colors, or soften some edges or add textures.
SOME STUDENT BEFORE AND AFTER PICS:


Buddha, before and after (I took this photo at Marie Selby orchid gardens in Sarasota)
Some pics with just whites removed:
B


(Butterfly pic taken by Glenn at Oxbow)
Whites removed and beginning to paint in darks:
 (plumeria photo taken in St. Augustine)
Finished paintings:

(pic taken by student )
Student used watercolor pencil to sharpen some areas.

(Photo ref. taken by student)
No comments:
Post a Comment