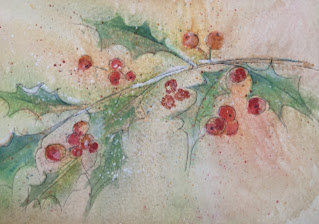
True confessions: I used ideas from two YouTubers, Ellen Crimi-Trent for a loose card, and Julia Lis Art for the black and white card.
This loose painting comes from Ellen Crimi-Trent. It's a method I would call construct-deconstruct-reconstruct. You paint some general forms and dry the painting. Then, with a brush and water, you loosen the paint and allow it to run in different directions, occasionally adding in some other color. Then, after you have "deconstructed" and loosened the paint, you dry it. Then you "reconstruct" by adding paint, using metallic paints, spattering, making more hard edges, etc.
The full tutorial is found here: https://www.youtube.com/watch?v=OY2IM5jVi-o

The second card, the deer in a forest by Julia Lis Art, is actually much easier than I expected. I did a few things differently than the video. Here are a few things you might change up:
1. For the oval, instead of drawing it, I slightly scored around an oval shape. No erasing necessary, and the paint stays inside the oval. You might also consider cutting the oval out of a piece of contact paper and applying the frame to the paper. This will keep your outer paper clean while painting. (Especially if you tend to make a mess, like me.)
2. You do not have to make a deer. You can just do the trees or add another forest critter...squirrel, cardinal, fox, or even a couple walking hand in hand.
3. You could also have one small part of it a different color, such as red.
4. The tutorial colors the deer silhouette all the same value. I left a rear leg a lighter value to make it seem a little more distant.
The full tutorial for this is Watercolor deer in forest painting for beginners » EASY step by step winter painting tutorial - YouTube
If you do a picture inside a circle instead of an oval, it would look very much like a snow globe, which would also be cool.


