What is "loose" painting? I brought several books by different painters I consider having a loose style: Charles Reid, Zoltan Szabo, and Jean Haines. All have totally different styles, but they have one thing in common: their paintings are simplified down to the most important elements. They may have some details in them, but not a lot. They suggest objects through color, shape, value, and lost and found edges.
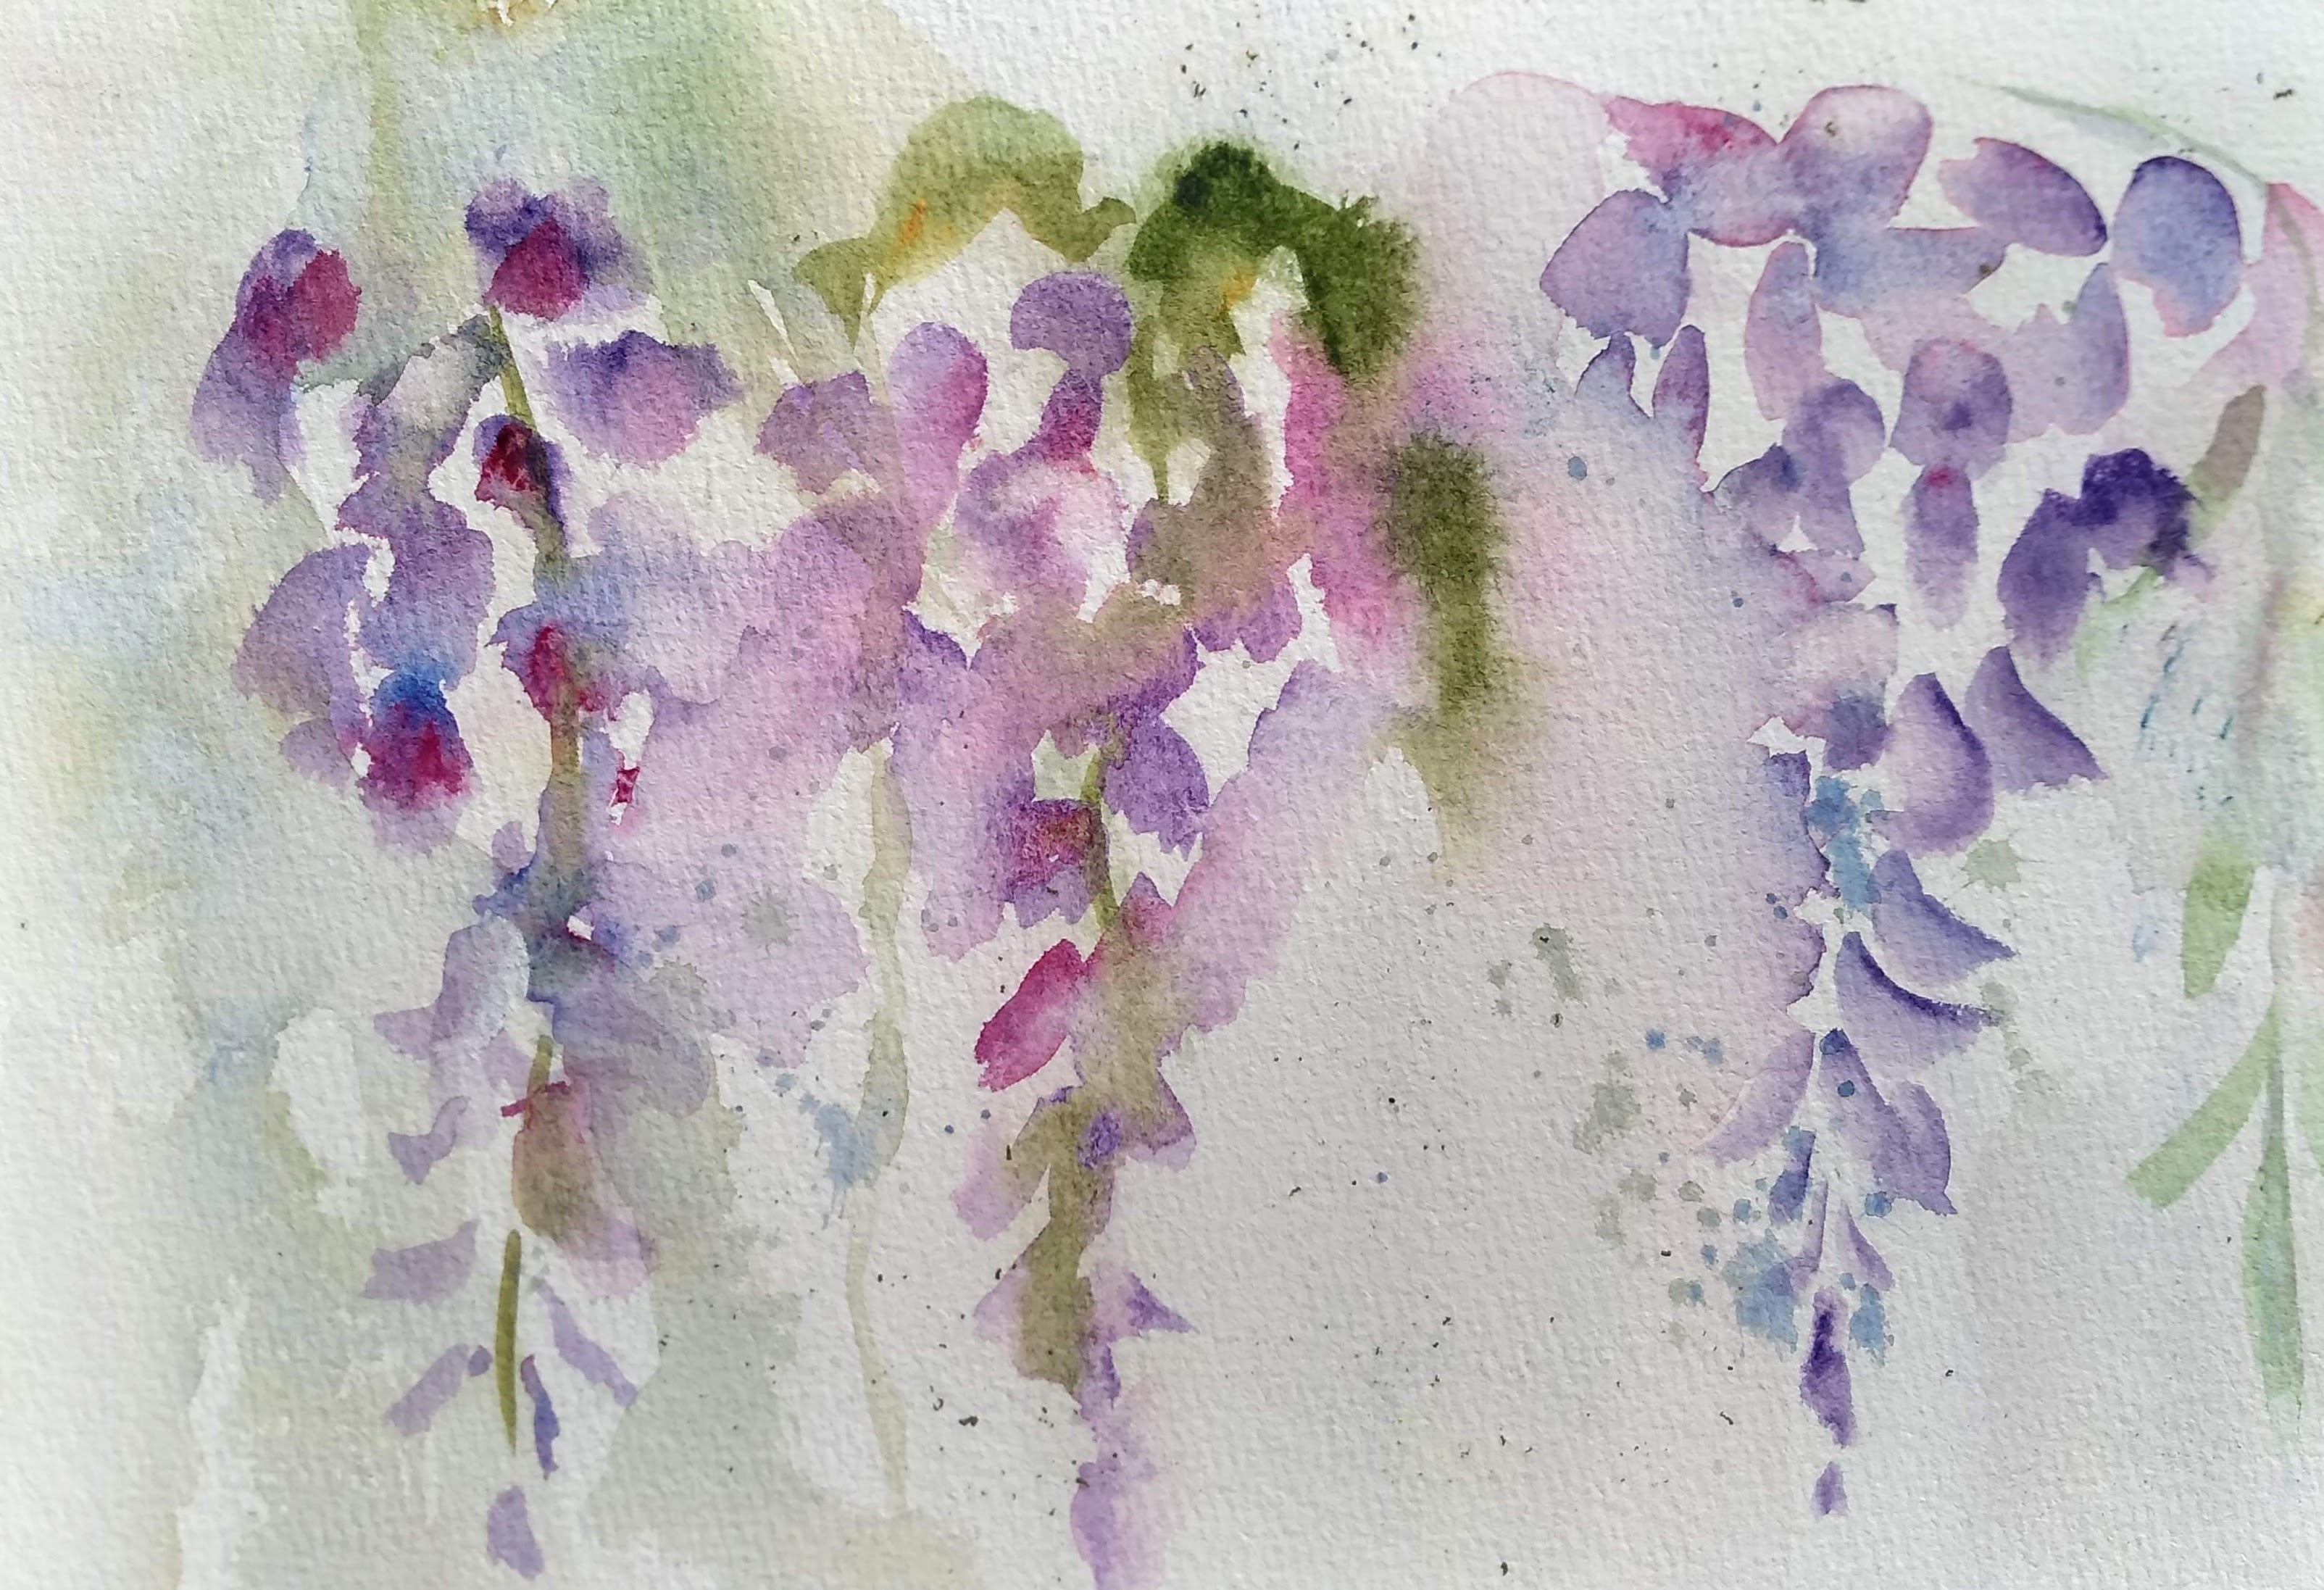
Below is a painting of wisteria that I tried in Jean Haines Online Workshop. There are suggested forms and some detail.

A few simple suggestions that I've seen from painters who prefer a loose style:
1. Use Big brush/Small paper
This is to teach yourself to simplify your picture.
2. Hold brushes near the end, not up close to the bristles. Try to use your arms muscles, not just your hand and finger muscles to paint.
3. Simplify/simplify/simplify
4. Leave whites. White paper is oxygen to a watercolorist. (Jean Haines says so)
5. Try holding the brush in a Chinese style, not in a handwriting grip.
6. Learn a few simple brush strokes and practice them.
7. Learn to "connect" shapes in a way that creates a more interesting painting.
Practice brush strokes
Using the biggest round brush you feel comfortable with, practice making brush strokes. Standing up gives you more freedom of movement in your arm. Hold the tip vertically to create thin lines....to the side to create wider lines. Touch the tip to the paper, then push down on the belly of the brush to make it wider, then lift up again. Make lots of free strokes using your whole arm.
Lay down some strokes, and while wet, add a different color. Put clean watrer next to a stroke, and bleed some of the color into the water. (I will try to find a video that explains some of these strokes)
(Cafe Water Color - highly recommend)
(strokes used in flowers)

When you feel you are warmed up, decide on which colors you want to use. I did a "dancing ladies" exercise, which is Jean Haines' method of seeing how colors react to each other. Dot color from the tube at the top. Wet a stream of water beneath the dot, then encourage the paint into the water. Mix colors from other dots into it to see what combinations you can make.
I decided on Ultramarine violet, Janet's violet Rose, Quin Gold, and Ultramarine Blue (to make green and to accent the violets) After you decide, you can USE THESE AS YOUR PALETTE.

Use a photo or wisteria buds for reference. This is your reference, you are not trying to copy it petal for petal. You just need to study it to get a general idea of how it grows, what makes it look unique.
I am left-handed, so I started on the right side of the page. There are 3 different methods shown for painting a loose wisteria.
On the far right, the first method is on dry paper. I made some marks to indicate petal shapes, trying to vary their shapes, always keeping in mind that I am aiming for a long triangular shape with larger petals on the top and thinner, airier ones toward the bottom. I looked for opportunities to "connect" these petals, either by overlapping them or letting one bleed into another. While wet, I tried to add blues or magenta to lesson the flat look. I also took clean water to create "lost edges," see the left side of the wisteria.
In the middle is the 2nd method. I dropped "reservoirs" of water here and there, and applied paint to the dry areas and let them touch the wet areas. Remember, you don't want a polka dot effect. You want to vary the size and shape of the spaces between petals and create connections. One this one I used my green (created from ultramarine blue and quin gold) and let it bleed into some of the violets.
On the right is the 3rd pethod. I lightly sprayed, created little droplets of water. (the paper is not solidly wet, just has some droplets on it) The class gave me the challenge of painting it right handed (I am a lefty) and holding it like a Chinese brush near the tip. I still made general shapes, added color wet into wet, and found opportunities to connect shapes while maintaining whites.
When it was dry, we discussed 3 things you can do to make adjustments.
1. If you got too heavy-handed with color and want to get some whites back, try to lift some shapes gently. (I used a Monarch brush--firm but not harsh and stiff). You can also soften some of your edges this way.
2. You can use negative painting to carve out some shapes.
3. You can use guouache (white) to get some whites back where lifting doesn't work.
You can also spatter. On this one, I used watercolor pencil shavings, misted them with a spray bottle, and let them dry.

No comments:
Post a Comment