STEP ONE: DRIZZLING MISKIT ONTO THE PAPER
You can use cold press or hot press, at least 140 pound paper.
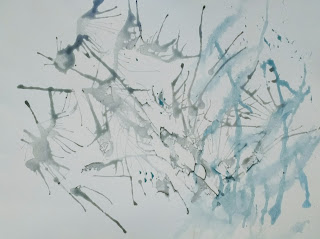
Pour a small amount of miskit into a container and begin to drizzle the miskit onto paper. It helps to hold the paper at a slight tilt to encourage the miskit to move. Use a straw to blow the wet miskit around. Slightly spritz with water to get the miskit to spread in tendrils. (You don't want to soak it, just create little paths for the miskit to travel in). You can also use a dropper or you can move it around gently with a palette knife. You can even spatter some miskit with a toothbrush if you choose.
Let this dry completely. DO NOT USE A HAIR DRYER ON THIS. Masking fluid is generally made of latex, and using a dryer, especially on high, can make it permanent and non-removeable
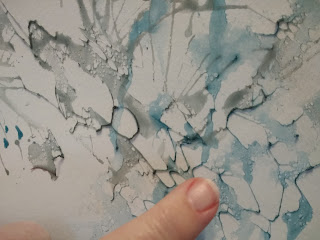
After it is dry, if you feel you have too much miskit, or you want to break up some globby areas (yes, "globby" is a technical term), use your finger or miskit remover (I think it's called a rubber cement eraser) to create some little holes and passages in the miskit.
Mix three small cups (like baby jar size) of watered down paint: one yellow, one red, one blue. The ratio would be about 3-4 T. water to a small dot of paint. The paint should look a bit watered down, but not so watery that the color is too faded.
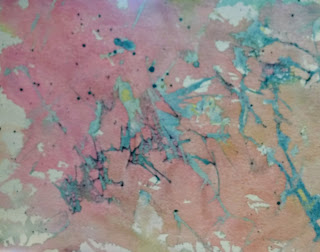
Spritz the paper slightly, and, over a sink, start pouring the paints onto the miskited paper, one at a time. I usually start with yellow, swirl it around a little, then add red and let them mingle. You want some areas where the color is pure, some where they have blended. It's a good idea to dry the first two colors before adding the third so your paints don't make brown. Experiment. This is supposed to be FUN!
When the paint is completely dry, remove the miskit. Your color should be medium to light on the value scale. And you want lots of white left on the paper.
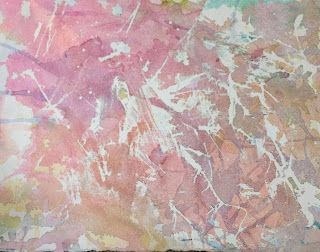
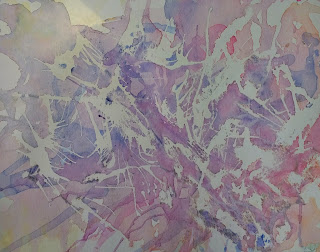
For some reason these two examples look darker than they really are. The top one is 300 lb cold press; the bottom one is 140 lb hot press.
To see a bit more about this, you can look at the link to Sandy Maudlin's blog on the right. Looke for a giraffe painting on 2/15/10 and a daffodil on 2/26/09.
Next step is to find a picture that you can paint over this background. Look for simple shapes if this is your first one, with interesting negative shapes you can paint.
No comments:
Post a Comment